How I Draw Comics
/
To get started I like to make thumbnails and initial sketches for what would be the Pencilling stage in a light blue line. In the traditional on-actual-paper comics creation process, light blue pencil is typically used for under-drawings. The best thing about light blue is that it doesn't get picked up by scanners. When scanned, blue will simply disappear - it can’t get collected by a computer.
Blue is easy for me to see and draw over - I can't imagine drawing thumbnails in light red or light yellow, so it's light blue!
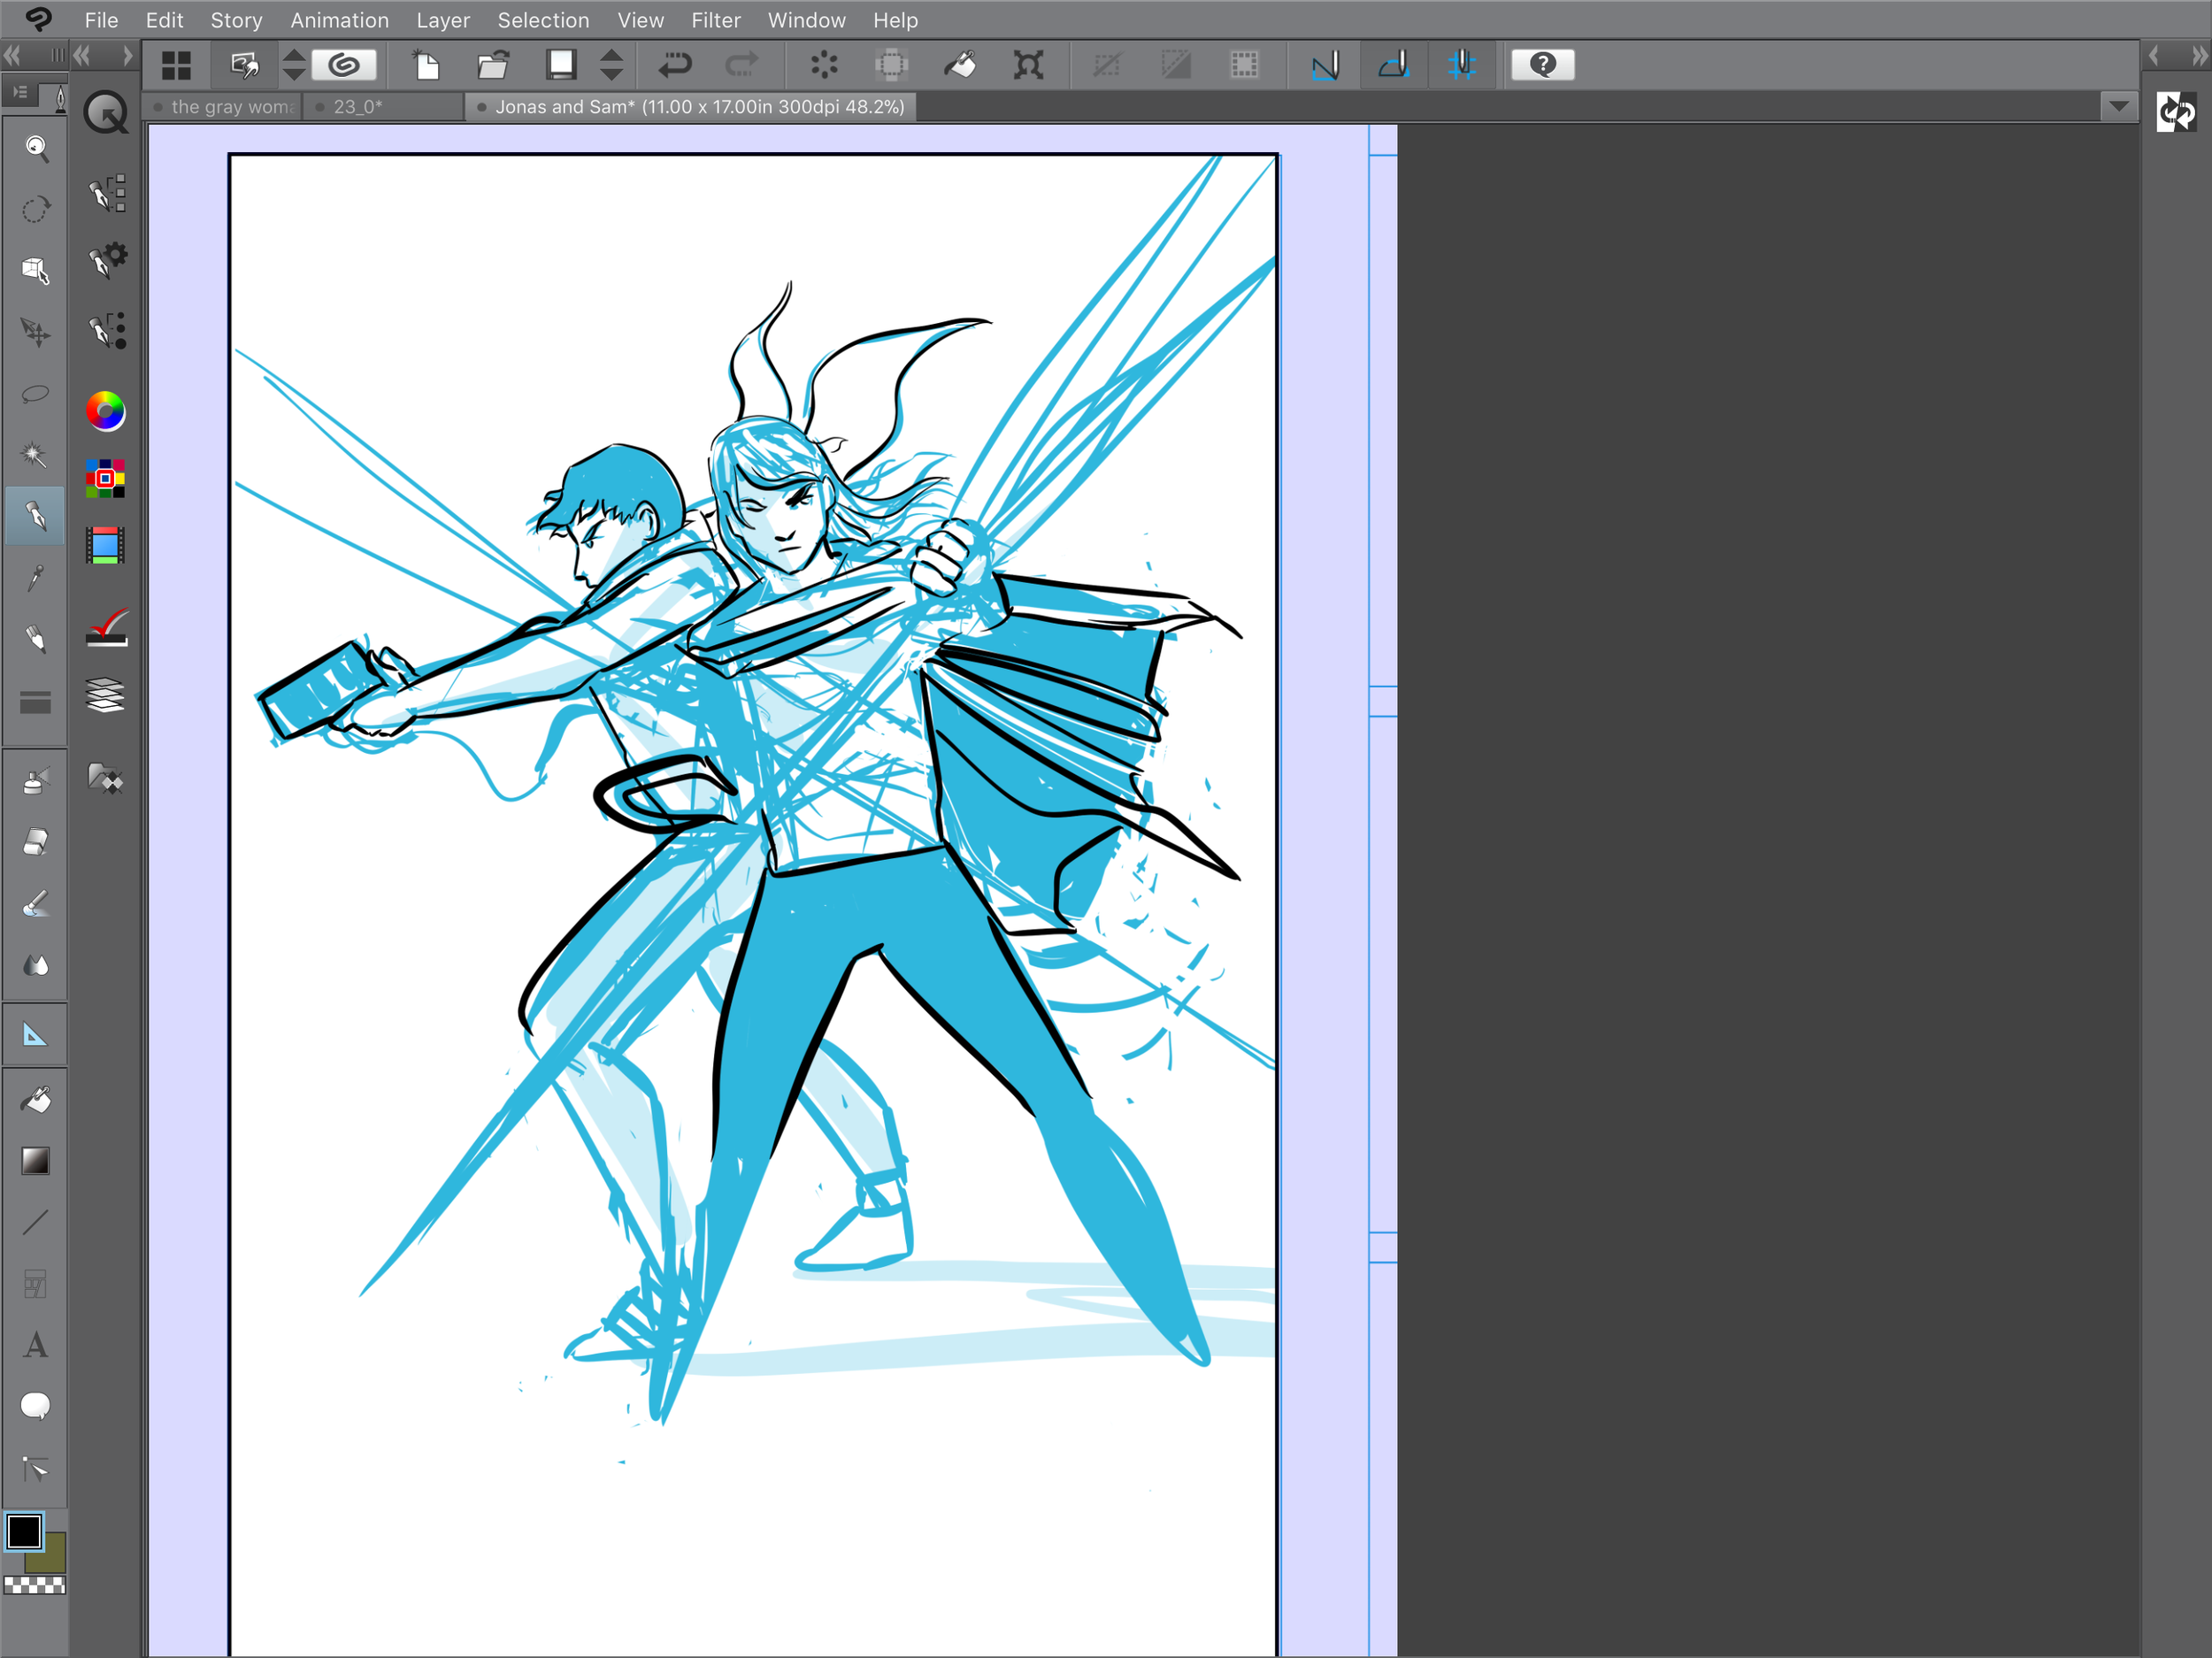
After getting the basic thought of the art worked out in the light blue pencilling line, I start to make commitments in ink. Ink is all about commitment and confidence.
I never really erase the blue line - it stays in it's own layer - and when I need it I turn it on and when I don't need it I make the blue line layer invisible. It is nice to have the ability to see and unsee the original plan for the art and to see how the final inks either deviate or match the original intent.
Before finishing the inks I start adding color, this is probably why I can only work alone. If I don’t see the relationship between inks and colors, something doesn’t feel cohesive about the work to me. At this point the art looks like a mess, but I understand it:

Typically I work top down on art, solving problems in ink from head to toe on the page. It would probably be fine to work more completely, throughout the entire page, but my guess is this is one of those 'to each their own!' kinds of things in art - what works for you is best!
Sometimes coloring on the same layer as the line art feels pretty ballsy. It's a huge commitment. Occasionally I'll use selection cells to color on an additional layer instead of the same layer. This is probably the proper way to color.


I also add opacity-reduced color layers below the ink and blue line layers to get a sense of where the colors will go on the panel, and if the backgrounds make sense overall. Backgrounds and set design have always been very hard for me - I tend to think only in terms of story ideas and characters - I don't automatically consider furniture or environments, so I tend to be very impressed by good set design in comics and film.
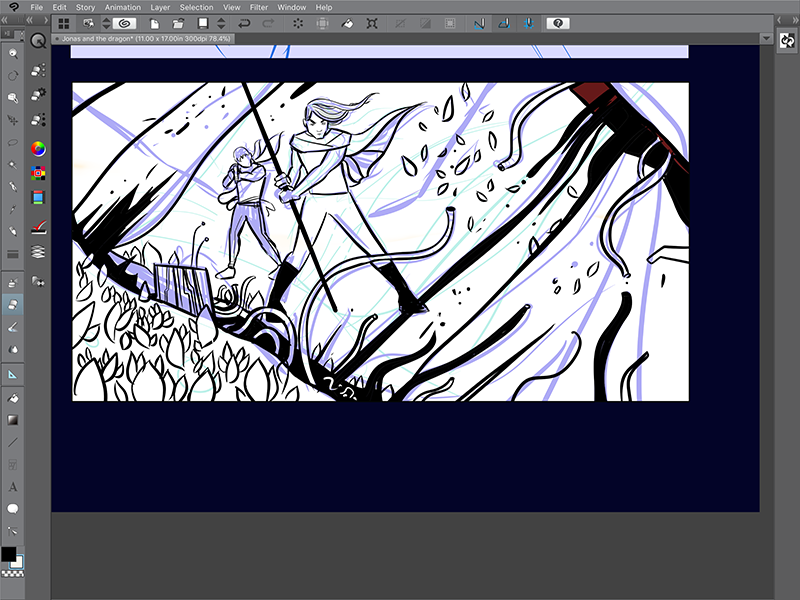
Here is the panel with the blue line underdrawing and the inks on to:
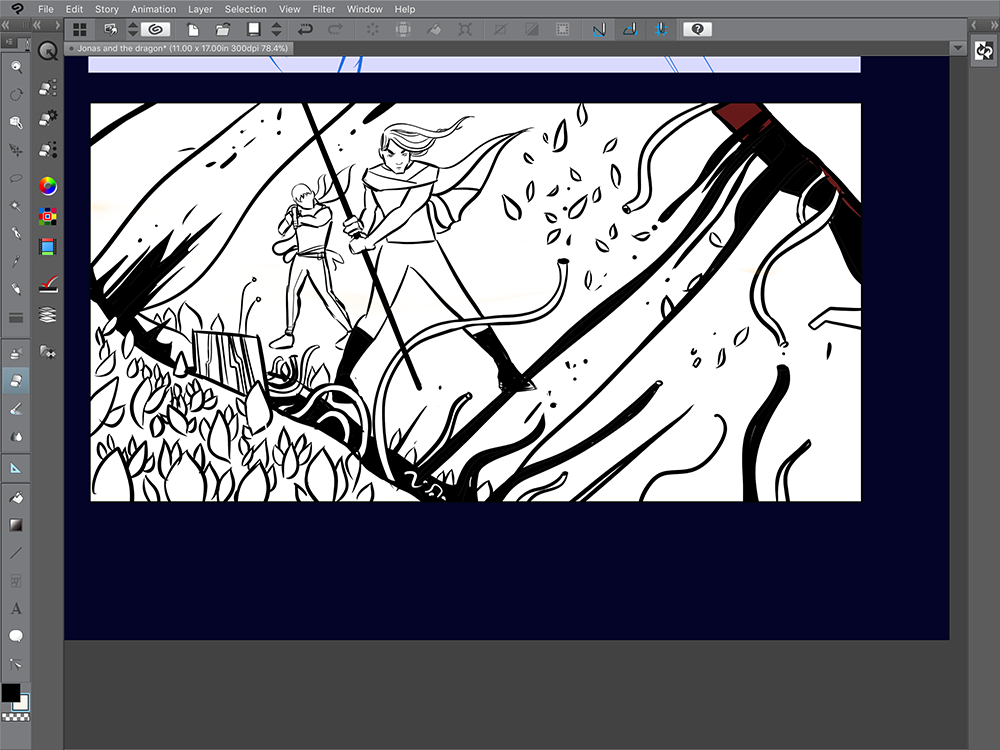
And here are just the inks:
Sometimes I like the blue/black version a lot better than the final ink version - I'm not sure why, I think it is because the blue lines retain a lot of the original feeling and motion that goes into the panel. It's a lot of chaos and indecisiveness, and it doesn't make sense, but the feelings are there, and that matters.
Here are another couple panels where I laid down some blue underdrawings first with inks on a higher layer:


After a couple touchups the final layer looked pretty good!
This is my whole process for making most of Tilted Sun, aside from the writing and lettering!
It’s been a wild ride so far and I’ve pretty much been rehammering the process as I go along. I think it is fine to think actively about art, and to change approaches and ideas, even struggle with art a little bit instead of adhering absolutely to a process.